Tracing With Pen Tool - Your Choice Image
| unit_ai4_assignment.mp4 |
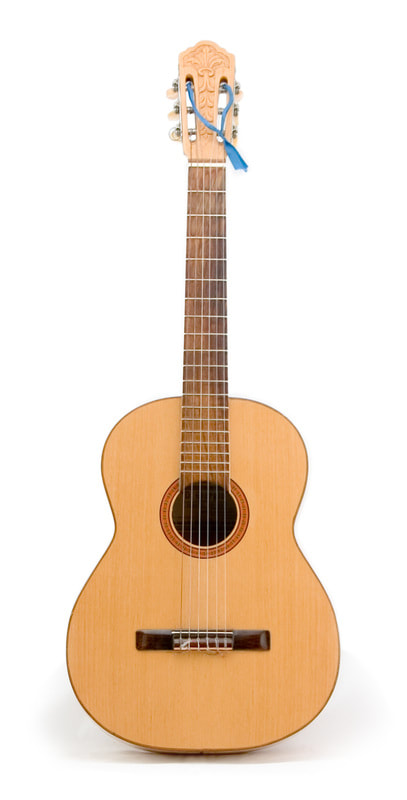
Download a photo (from the internet) of a simple object with a distinctive shape (cat, guitar, ice cream cone, vacuum cleaner, old-school telephone, etc.). Be sure to choose a photo with lots of curves. It may help if the photo has a white background but it's not necessary.
YOU DON'T HAVE TO USE A GUITAR PHOTO! However, if you want to use the guitar photo from the video then it is here.
- The photo should be at least 800 pixels in size. Lock the photo.
- Trace the object using the pen tool.
- The line should be smooth (curved) and it should be one continuous line. You'll likely need to try this several times
- Close each shape. They can overlap.
YOU DON'T HAVE TO USE A GUITAR PHOTO! However, if you want to use the guitar photo from the video then it is here.
Turn a pixel-based Image into a Vector Drawing
Using the skills demonstrated in class using the pen tool, create an identical a drawing of the cat using Adobe Illustrator. The purpose of this project is to learn how to use the Pen tool, but also to create a vector, i.e. resolution independent, image of the cat face lineart using a pixel image as the reference. Download the file “cat_scan.tif” by clicking here

There are three kinds of anchor points: corner, smooth, and independent corner. The majority of the points in this artwork are either smooth or independent corner points. Smooth Points are created by pressing and dragging the pen tool and independent corner points are created by pressing the option key and dragging one of the direction handles. To create as smooth a line as possible, remember to place as few a points as possible in order to create a smooth, flowing curve.
DIRECTIONS
- With the layers palette open and "Layer 1" layer selected, place "cat_scan.tif" into the document. Choose File>Place and locate "cat_scan.tiff" on your Desktop or wherever you saved it.
- Double click on "Layer 1" in the palette and choose the following options. Name the layer "template". This allows you to use the scanned artwork of the cat as a template to trace.
- Create a new layer by either clicking on the new layer icon or selecting "New Layer" under the options arrow in the palette. Name this layer "cat artwork". With this step completed, select File>Save As and name the document "first initial/last name_cat.ai". Save the file in the current Illustrator format.
- A good place to begin is the right ear. Try to place the points as you move around the ear clockwise. The right ear utilizes 9 points. Set the fill icon to "None" and the stroke icon to "Black". You should work in the Preview mode. Remember the template is a low-resolution image: do not try to follow every pixel.
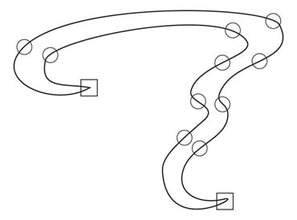
- Before beginning to draw the nose, look at the closeup below. The circles indicate the placement of smooth points and the squares indicate the placement of independent corner points. Remember, it is best to NOT place points at the top of at curve or in the valley of a curve.
Before saving the file, you need to prep the file. Follow the steps below.
Save your images in the Illustrator (AI) format. Keep the layers, if any.
- Select Object>Path>Cleanup. This deletes any stray points or unpainted objects.
- Select the template layer, unlock it, and delete the layer.
- Zoom out to around 25% view. Delete any objects left on the artboard.
- Save your document one last time
Save your images in the Illustrator (AI) format. Keep the layers, if any.
